ST1100 INDICATOR BLOCK

So, I needed to replace my indicator block as the right side indicator would take between 3-5 seconds to engage when turned on. This made it a little dangerous on the road for my liking. I did pull the old one to pieces and try cleaning the contacts which worked well for the first one or two turn and then it started to lag again.

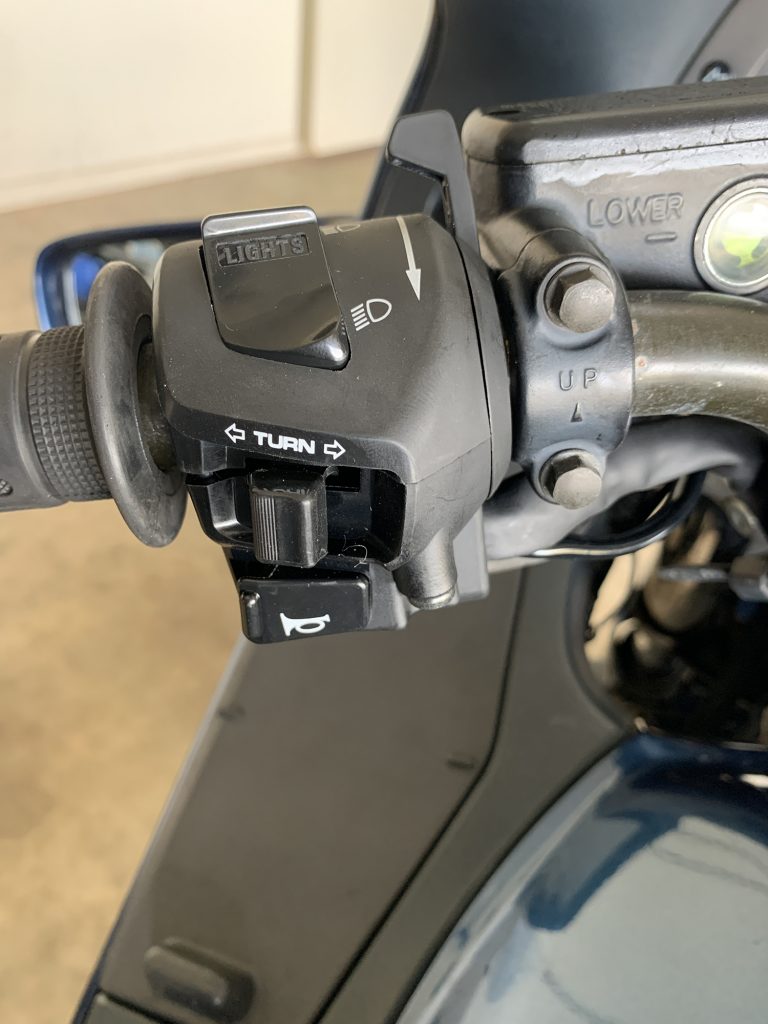
I did the complete check of all my globes and flasher unit and grounding before I took this step.
Upon receiving the new unit, it all looked fairly simple. Take the old one off and put the new one on. How hard could it be? Hold on to your helmets and read on.
What the hell is going on here you say? Thats where the air filter goes. That’s got nothing to do with your indicator.

Thanks Sherlock, I wish you were correct. After much inspection with a torch and blind fingers, I discovered that the wiring harness for the indicator block lead up under the air filter. So the complete air filter housing had to be removed. There are 6 screws holding the air filter base in place.
These 2 screws also need to be removed. Once you have done that, you can easily manoeuvre the air filter base off the bike.
As you can see now, there is a rubber flap that we need to get under. to find the wire harness connections.
This part is fairly self explanatory.
And now we can see our connectors. One would assume that you should be able to simply unplug the connectors from the base on that metal bracket. But we all know what happens when we assume. I look like an ass.

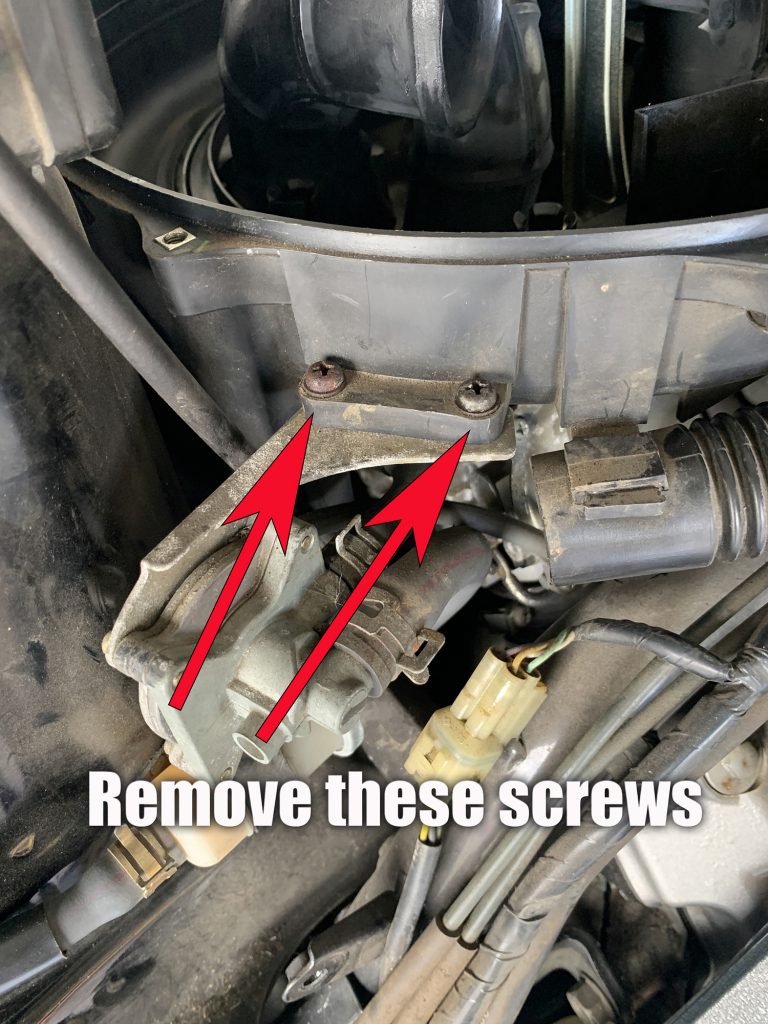
We need to remove the bracket from the bike in order to separate the plugs as the bottom half is not secured to the metal plate. The only way the cable is secured to this plate is when the two parts are plugged into each other which is just weird but it is what it is.
Now that you have it unplugged, you still need to pull the harness out of its route. There is a cable clip(Holder) that needs to be sprung with a flat head screw driver. Then there is a plastic plate that needs to be removed in order to allow the plugs to be pulled out of the frame.
Here is the plastic plate from the front showing where the screw is that holds it in place. Once you remove the screw, the plate will move out of the way and your indicator block will be free to be removed from the handle bar. Thens its a simple mater of reversing the process till it’s all back together 🙂
New block ready for action. The whole job took about an hour. Fun fun 🙂 Enjoy.